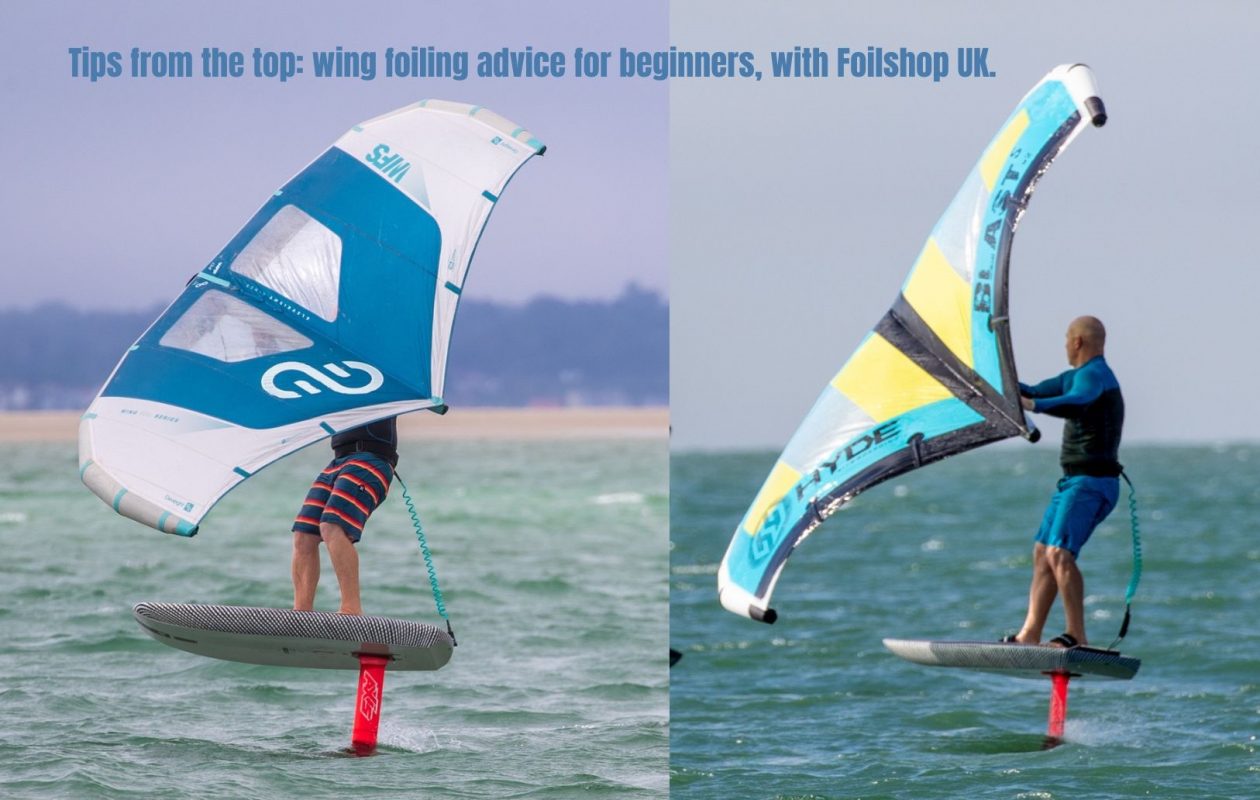
Wing foiling’s everywhere. Far and wide, near and far there are now lots of riders getting involved. There are also plenty who see it and want a piece of the action. But it’s tricky to know where to begin. Here in Cornwall there are pockets of areas with wingers and anyone who sees foilers flying above water with an odd looking ‘kite wing thingy’ are immediately intrigued.
Those who know of NCW’s sister site – Foilshop UK – often chuck questions our way about starting their winging journey. So we thought we’d ask our resident expert about where to start with wing foiling. Over to Tez.
Thanks to Mike Pringuer for the shots.
Right kit, right place, right conditions.
The three points above are key to making your wing foiling journey as smooth and progressive as possible. Anybody with a degree of watersports experience will take to it no probs, as long as you follow this advice and practice/persevere. Nothing comes super easy. Even the best have to invest time and energy. But you can certainly narrow the variables. And whilst you may have existing skills in the drink be under no illusion wing foiling comes with its own set of nuances, subtleties and muscle memory that need to be nailed down. But using the right kit, in the right place, with the right conditions will speed your progress up no end.
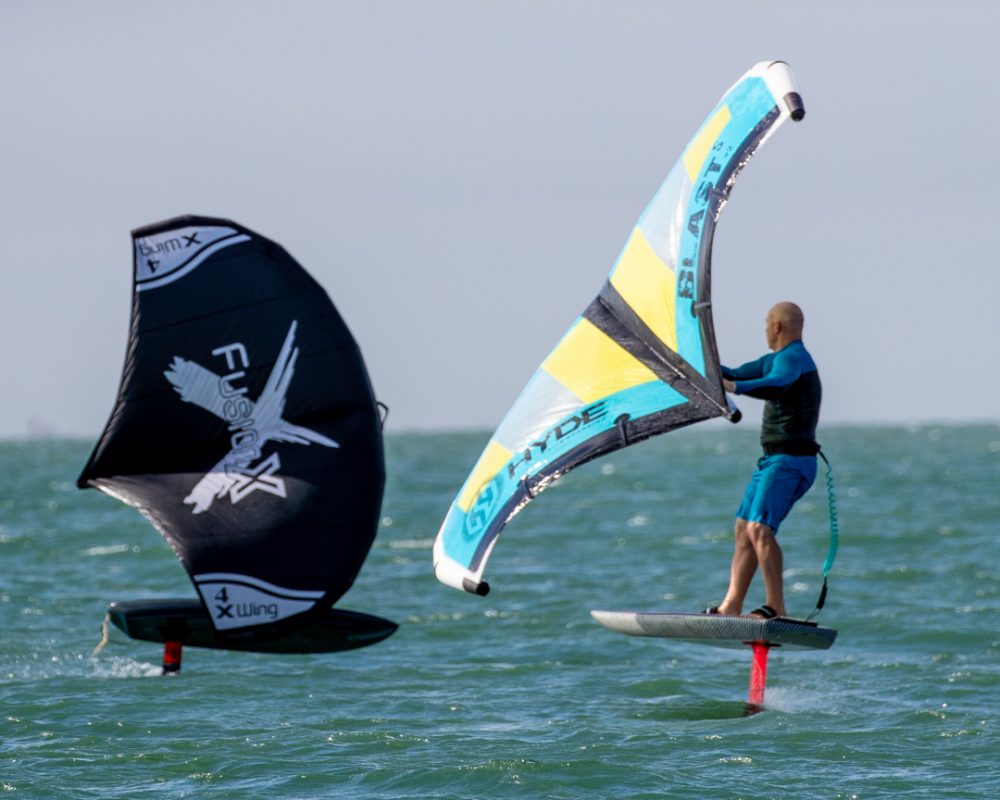
And for anyone who wants to improve faster still a lesson or two with a qualified wing foil instructor wouldn’t go amiss.
The right wing foiling kit.
Whoever you are go big with your gear. I actually don’t like using the words ‘big’ and ‘small’ with foiling as it doesn’t accurately describe the equipment. But for the sake of simplicity, I’ll use the terms here.
So, big foil (probably low aspect, shovel like or big area medium aspect foil)and big board (120L – 160L depending on your weight). If you’re larger boned go bigger board and big wing. A 5m wing may be OK for smaller individuals but a 6m is perfectly applicable to larger riders. Wings in particular are low power and inefficient compared to a lot of other watersports ‘engines’. Something that has decent bottom end grunt will certainly help. And don’t worry about being overpowered as one of winging’s beautiful aspects is the ability to easily depower.
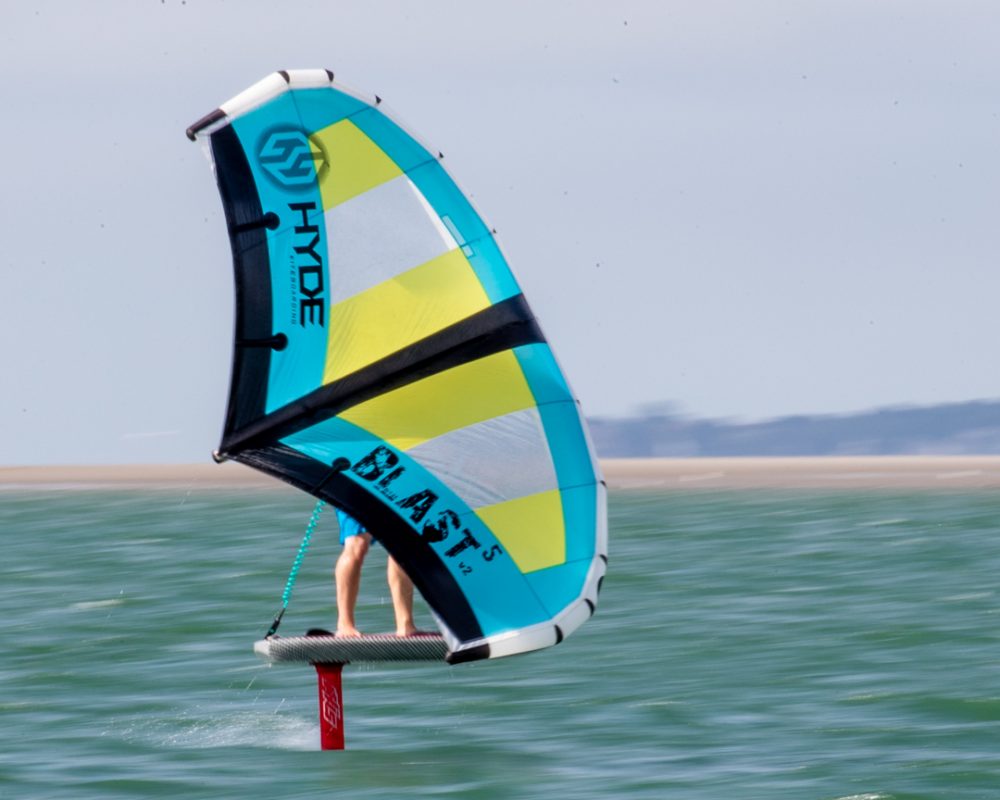
The right location.
Where you take those first wing foiling forays is super important. An exposed, tidal beach with waves isn’t going to help your efforts. Flatter, sheltered water that still benefits from breeze is the best choice. Chop and swell make learning to foil akin to riding up a hill. You’ve already got a whole host of variables against you so why make it harder?
Lakes, estuaries and harbours can be great shouts. Just watch out for tides. Lots of flow could drag you away from your launch spot and chuck you into a more life threatening situation. Also, learning at busy locations is a no no. You’re going to do lots of falling and being close to other water users could result in an accident.
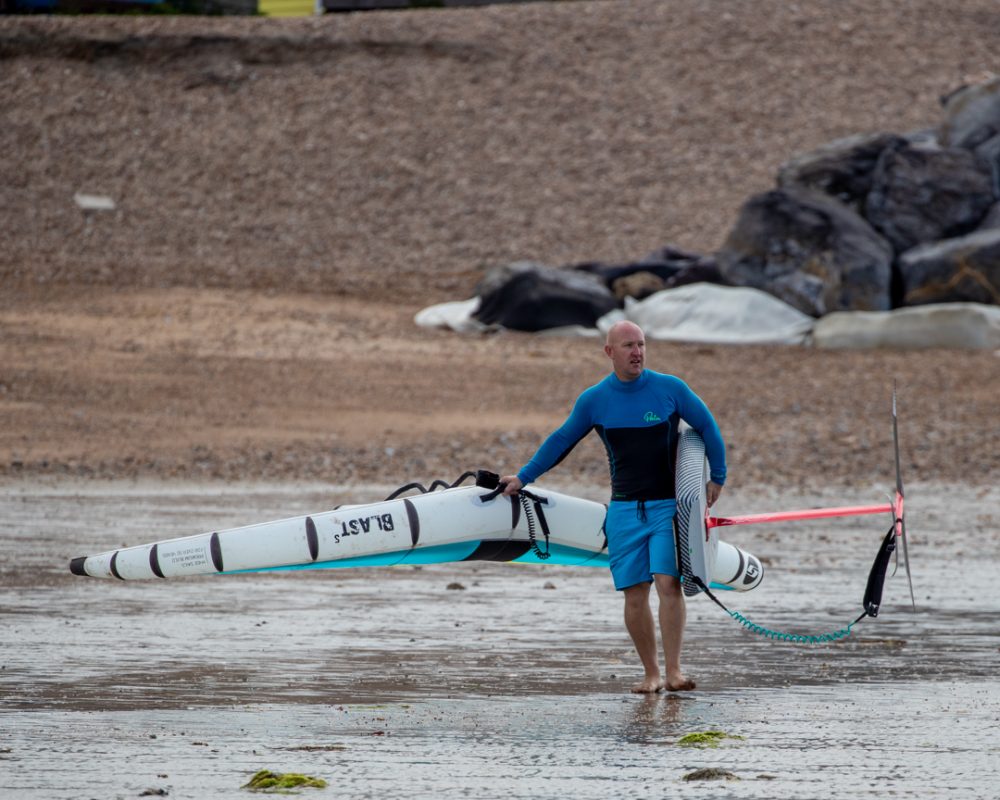
The right wing foiling conditions.
By conditions, I’m talking mainly about wind. When you see experienced wing foilers flying along in super light airs the revelation is tangible. Who doesn’t want a piece of that action? At 90kg I can pump myself up on foil in around 8-10knts with the correct kit. This takes practise and time to achieve. Wing foiling is as much as learning how to pump the foil as it is the wing.
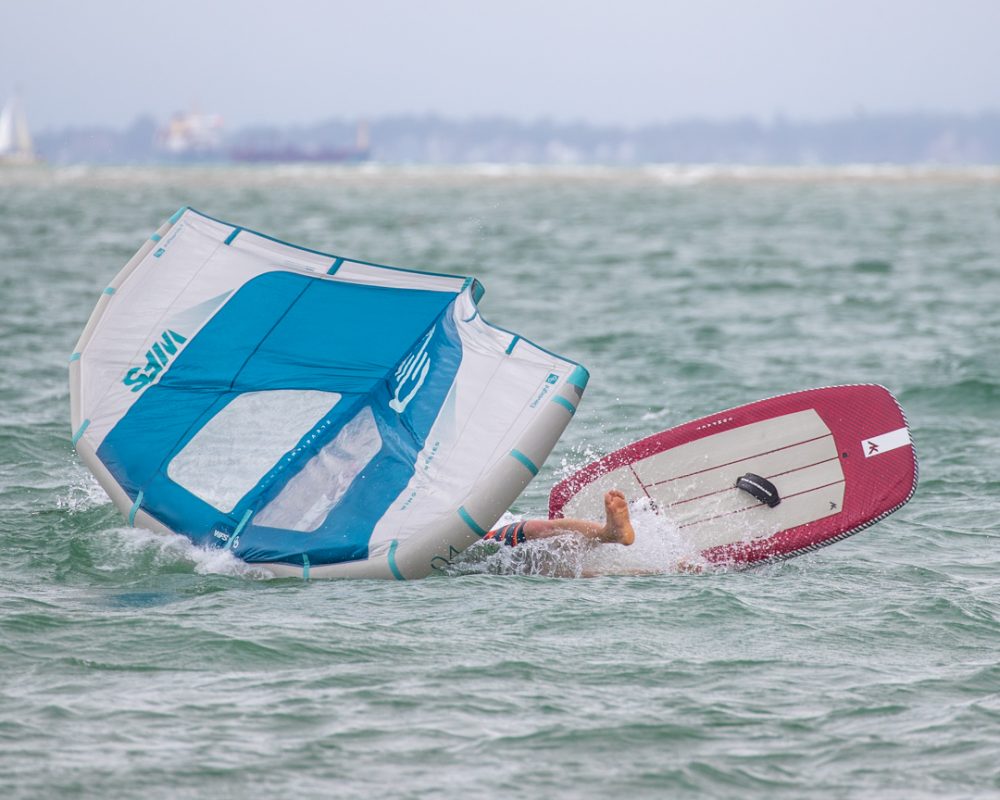
During those initial stages, you want some decent breeze. 18 knots is a good place to start but some riders require more. I did. My home spot is choppy and tidal so more oomph was required. But slowly and surely you develop the refinement of skills and can then dial everything back. Both in terms of equipment size and wind strengths you need to actually get on foil.
If you follow these rules of thumb then your wing foiling career will get off to (literally) a flying start. There’ll be bumps along the road for sure. But stick with it and pretty soon you’ll be sustaining flights and ready for those first foiling gybes.
Check out more foiling knowledge articles here.
